
3D AI Studio + Blender + Mixamo: Animate 3D Character Models in Minutes
Creating animated 3D characters has traditionally been a time-consuming process, requiring expertise in modeling, rigging, and animation. However, with the power of AI and the right tools, you can now bring your characters to life in a fraction of the time. This guide will walk you through using 3D AI Studio, Blender, and Mixamo to create and animate a 3D character model in just minutes.
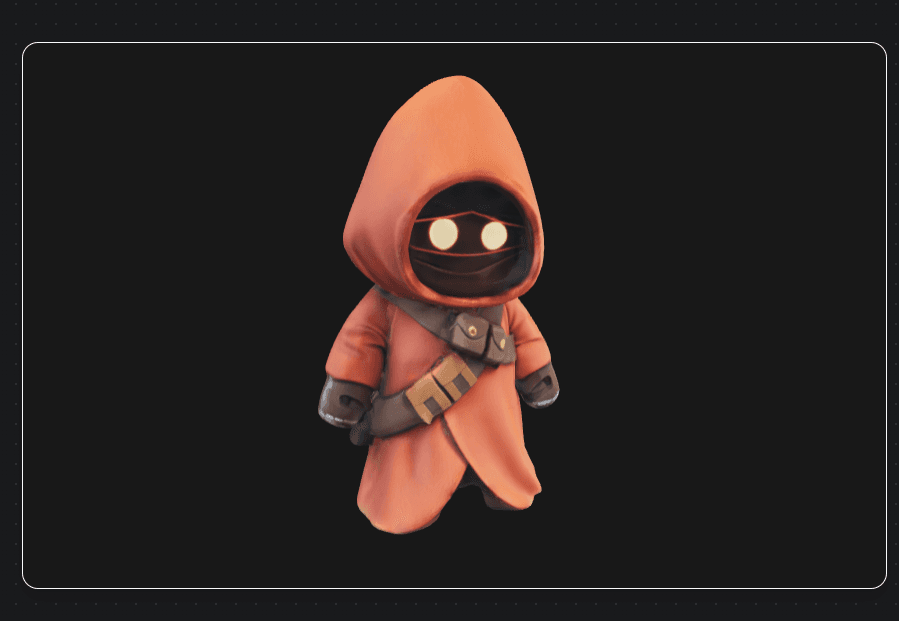
Step 1: Generate Your Character Model with 3D AI Studio
First, we'll use 3D AI Studio to quickly generate a base character model:
- Visit 3D AI Studio and log in to your account.
- Navigate to the "Text to 3D" feature.
- In the prompt box, describe your character in detail. For example: "A tall, muscular warrior with long hair, wearing medieval armor and holding a sword and shield."
- Click "Generate" and wait for the AI to create your model.
- Review the generated options and select the one that best matches your vision.
- Use the refinement tools to make any necessary adjustments to the model's appearance.
- Once satisfied, download the model in a format compatible with Blender (e.g., .fbx or .obj).
Step 2: Prepare Your Model in Blender
Next, we'll use Blender to prepare the model for animation:
- Open Blender and import your downloaded model (File > Import > FBX/OBJ).
- Check the scale and orientation of your model. Use the Scale (S) and Rotate (R) tools to adjust if needed.
- Clean up the mesh if necessary:
- Remove any unnecessary geometry.
- Ensure the topology is suitable for animation (e.g., good edge loops around joints).
- If your character has separate mesh objects (e.g., clothing, accessories), join them into a single mesh (select all objects, press Ctrl+J).
- UV unwrap your model if it doesn't already have proper UV mapping (U > Unwrap).
- Export your prepared model as an FBX file (File > Export > FBX).
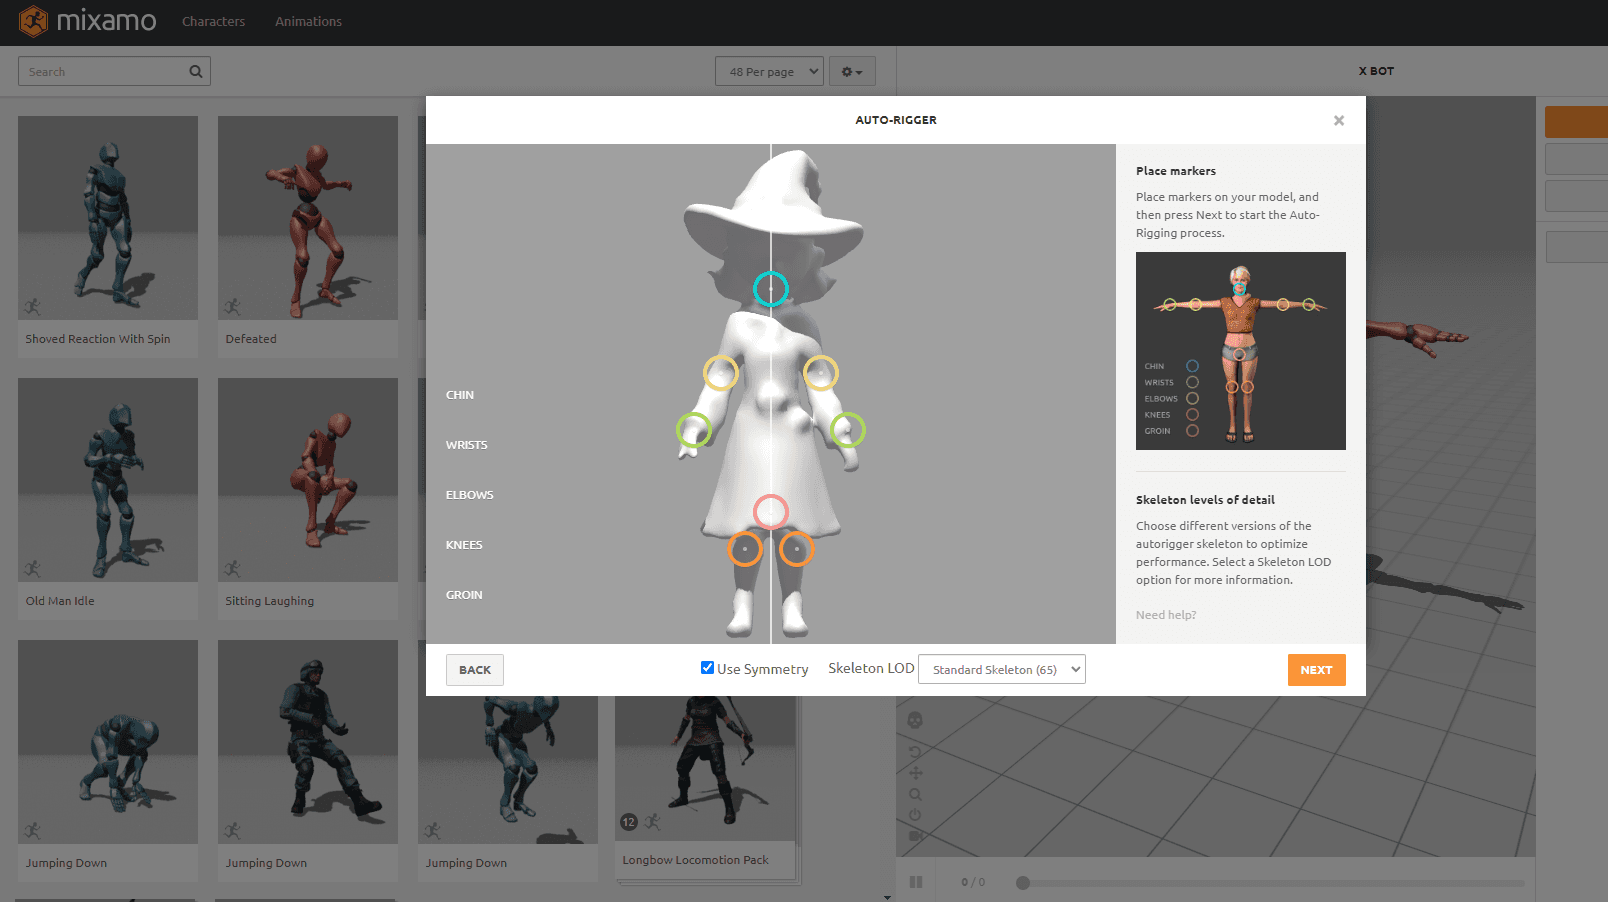
Step 3: Rig Your Character with Mixamo
Now we'll use Mixamo, a free auto-rigging service, to quickly add a skeleton to our character:
- Go to Mixamo and sign in (it's free with an Adobe account).
- Click "Upload Character" and select your exported FBX file.
- Once uploaded, you'll see your character on the Mixamo stage.
- Adjust the bone placement markers to match your character's anatomy:
- Ensure the chin marker is on the tip of the chin.
- Place wrist markers at the wrist joints.
- Set toe markers at the base of the toes.
- Click "Next" and wait for Mixamo to auto-rig your character.
- Once rigging is complete, you can test different animations on your character.
- Choose a base pose or animation you like, then click "Download" to get your rigged character.
- Select FBX for Unity or FBX for UE4, depending on your needs.
- Choose the skin option that includes the mesh.
Step 4: Animate in Blender
With our rigged character, we'll return to Blender to add or refine animations:
- Import your rigged character FBX into a new Blender scene.
- In the Animation workspace, you'll see your character with its new armature.
- To add a new animation:
- Set your timeline to the desired length.
- Select the armature and enter Pose Mode.
- At frame 1, set your starting pose and insert a keyframe (I > LocRotScale).
- Move to a later frame, adjust the pose, and insert another keyframe.
- Repeat this process to create your animation.
- To refine the animation:
- Use the Graph Editor to adjust the timing and easing of movements.
- Add secondary motion to enhance realism (e.g., subtle movements in idle poses).
- If you want to use animations from Mixamo:
- Download additional animations from Mixamo for your character.
- Import these FBX files into your Blender scene.
- In the Action Editor, you can see and switch between different animations.
Step 5: Final Touches and Export
- Add materials and textures to your character if you haven't already.
- Set up lighting in your scene to showcase your character.
- Create a short video render to preview your animated character:
- Set your render output settings in the Output Properties panel.
- Choose Eevee as your render engine for quick results.
- Click "Render Animation" to create your video.
- Export your final character with animations:
- Select your character mesh and armature.
- Go to File > Export > FBX.
- In the export settings, ensure "Selected Objects" and "Include Animation" are checked.
Conclusion
By combining the power of AI-generated models from 3D AI Studio, the auto-rigging capabilities of Mixamo, and the versatile animation tools in Blender, you can create impressive animated 3D characters in a fraction of the time it would traditionally take. This workflow is perfect for indie game developers, 3D artists on tight deadlines, or anyone looking to quickly bring their character ideas to life.
Remember, while this process is fast, don't be afraid to spend extra time refining your animations and adding personal touches. The best characters are those that combine the efficiency of AI and auto-rigging with the unique creativity and attention to detail that only you can provide.
As you continue to explore and refine this workflow, you'll discover new ways to push the boundaries of what's possible in rapid character creation and animation. Happy creating!
Generate 3D models with AI
Easily generate custom 3d models in seconds. Try it now and see your creativity come to life effortlessly!