Complete Guide: How to Use AI for 3D Printing (From Idea to Physical Model)
Want to 3D print custom models but don't know how to create them? AI is revolutionizing 3D printing by making model creation accessible to everyone. In this comprehensive guide, I'll walk you through the entire process - from idea to physical model.
Table of Contents
- Creating Your 3D Model with AI
- Preparing Models for Printing
- Optimizing for Print Quality
- Common Problems and Solutions
- Advanced Techniques
Part 1: Creating Your 3D Model with AI
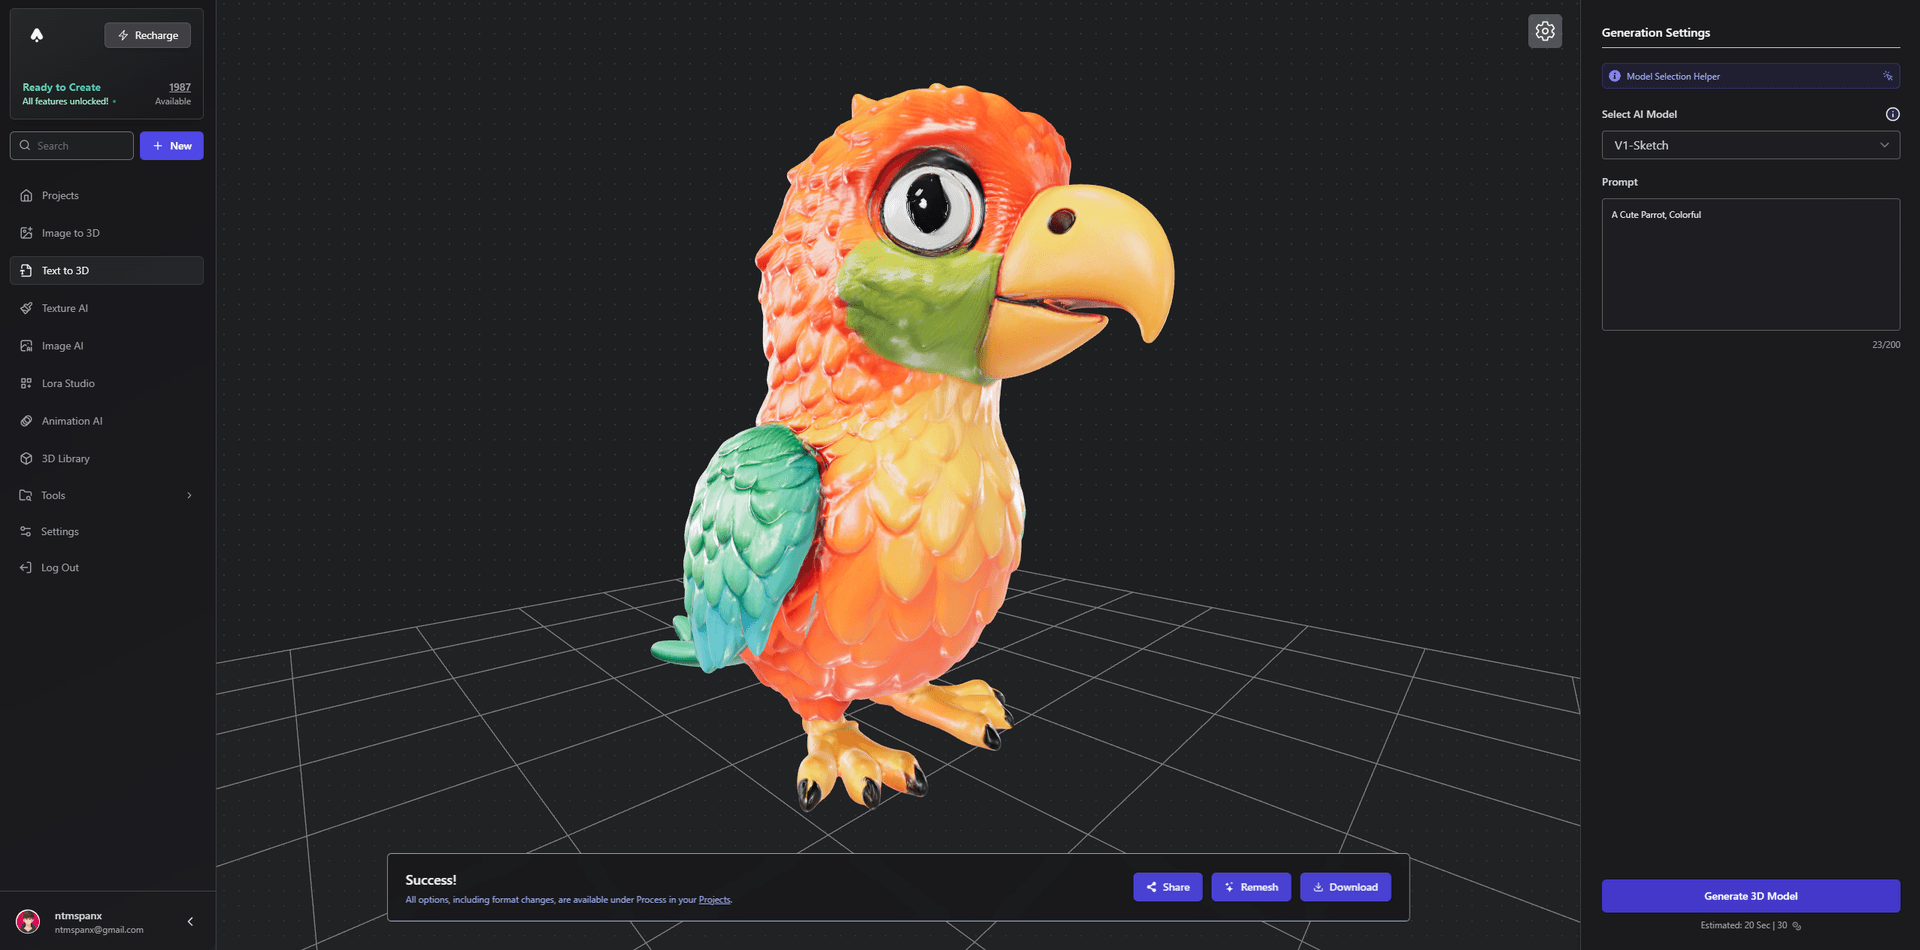
Method A: Text to 3D Model
Perfect for when you have an idea but no reference image.
- Visit 3D AI Studio's Text to 3D tool
- Write a detailed description of your model
- Example prompt: "A detailed steampunk owl with brass gears and mechanical wings"

Pro Tips for Text Prompts:
- Be specific about materials
- Mention size relationships
- Include style references
- Describe textures
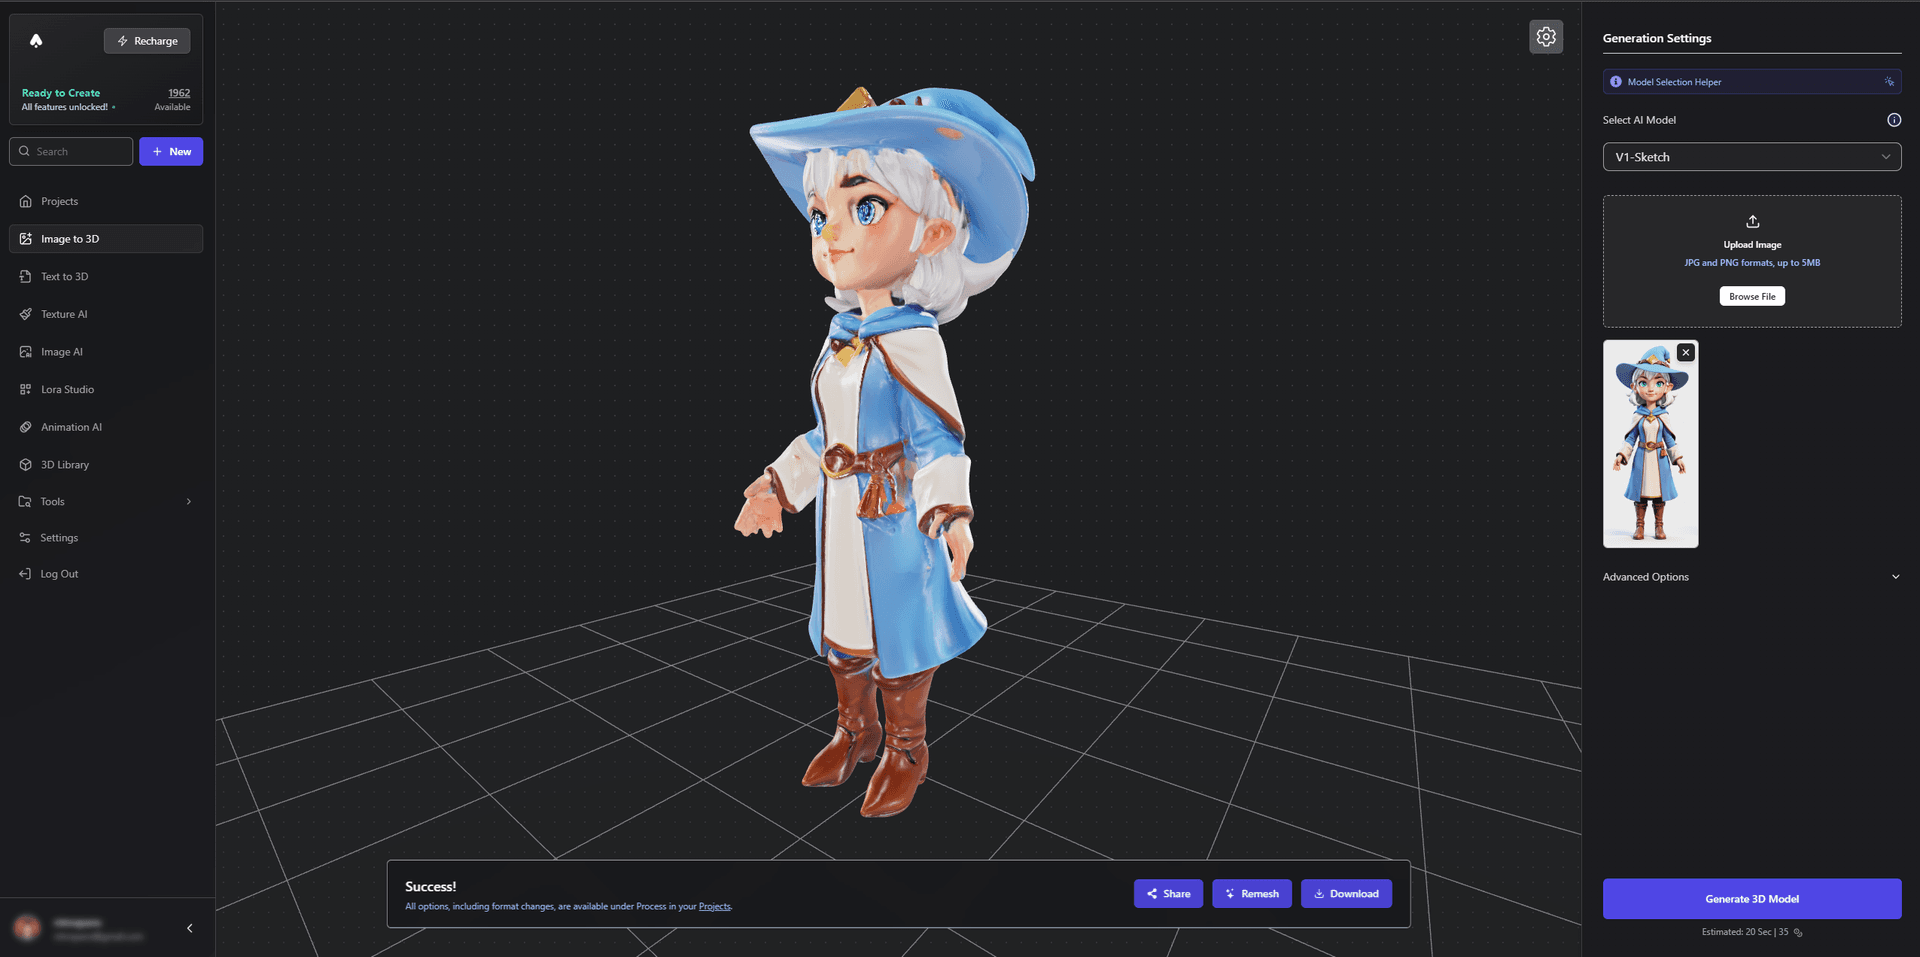
Method B: Image to 3D Model
Better when you have a reference image.
- Go to Image to 3D conversion
- Upload your reference image
- Choose model settings:
- V1-Sketch for stylized models
- V1-Regular for realistic models

Tips for Better Results:
- Use clear, well-lit images
- Avoid complex backgrounds
- Choose images with good contrast
- Include multiple angles if possible
Part 2: Preparing Your Model for Printing
Step 1: Generate Base Model
- Wait for AI generation (usually 1-2 minutes)
- Download in GLB format
- Check model quality:
- Look for holes
- Check thickness
- Verify detail level

Step 2: Model Optimization
Use our built-in tools to prepare for printing:
-
First, optimize with 3D Model Remesher:
- Upload your GLB file
- Set faces to 50-100k for printing
- Enable water-tight mesh option
-
Check texture quality:
- Visit Texture Generation
- Generate high-res textures if needed

Part 3: Enhancing Print Quality
Model Improvement in Blender
For better detail, follow our detailed Blender enhancement guide.
Key steps:
- Import model
- Add displacement modifier
- Optimize geometry

Part 4: Common Problems and Solutions
Problem 1: Missing Details
Solution:
- Use higher resolution in AI generation
- Apply displacement modifier in Blender
- Increase mesh density

Problem 2: Print Failures
Solution:
- Check mesh integrity
- Add proper supports
- Optimize orientation
- Adjust slice settings
Problem 3: Poor Surface Quality
Solution:
- Enable smooth shading
- Add subdivision surface
- Optimize layer height

Part 5: Advanced Techniques
Custom Style Training
Use Lora Studio to train AI on specific styles:
- Collect reference images
- Train custom model
- Generate consistent style models

Multi-Part Models
For larger prints:
- Split model into sections
- Add alignment pins
- Design proper joints
- Test fit before final print

Additional Resources
- Check our Community Library for inspiration
- Watch Tutorial Videos
- Join our Discord community
Conclusion
AI-powered 3D printing is revolutionizing how we create custom models. With 3D AI Studio and this guide, you're ready to start creating amazing 3D printed models!
For even better results, don't forget to check our detailed guide on improving AI-generated model quality in Blender.
Happy Printing! ~ Jan | Founder 3D AI Studio